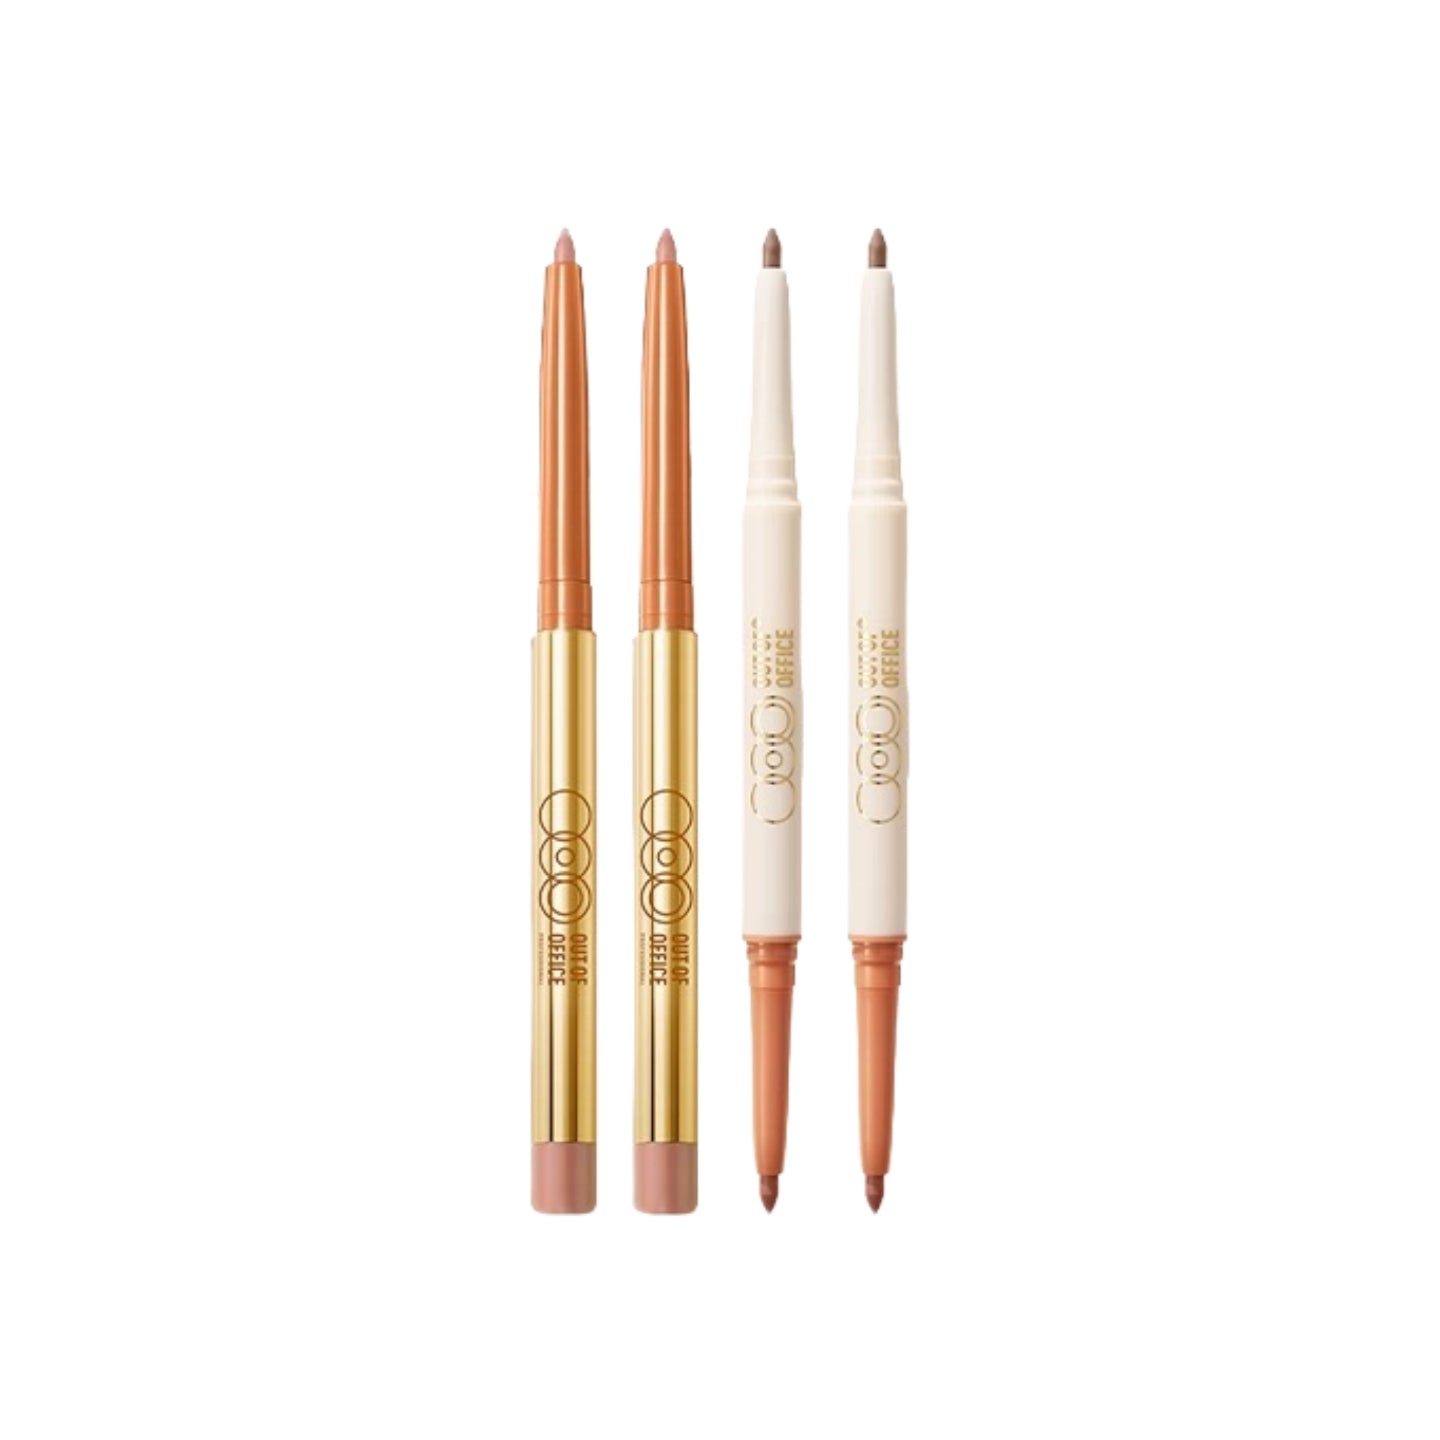


OUT OF OFFICE Lip Liner 0.4g
OUT OF OFFICE Lip Liner 0.4g
Available in stock
Regular price
₩13,000 KRW
Sale price
₩13,000 KRW
Regular price
Unit price
₩33per mg
Shipping calculated at checkout.
ABOUT THE PRODUCT
BENEFITS
BENEFITS
INGREDIENTS
INGREDIENTS
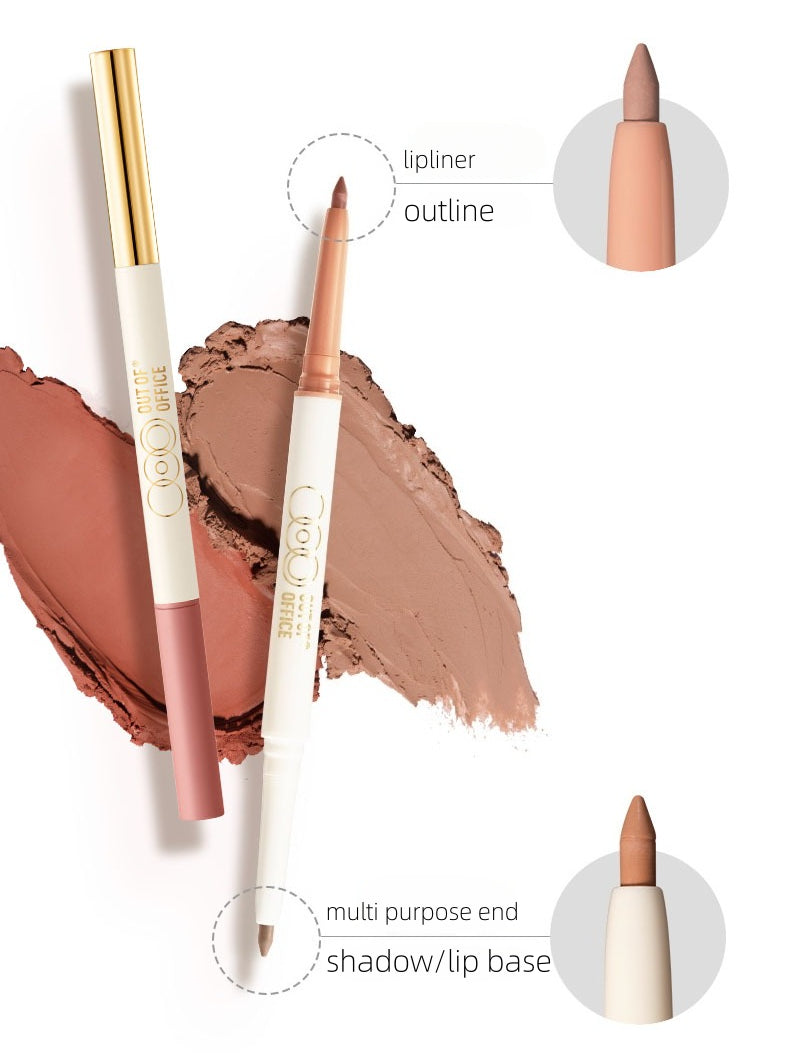
HOW TO USE
HOW TO USE
BIO
BIO
SHIPPING
SHIPPING
- Order processed and shipped out in 1-3 Business Days;
- Express by DHL Generally in 2-7 Days;
- Standard Delivery in 4-15 Business Days.
- Quick solution with returns and refunds.
- More details in Shipping Policy.
Share An Inspiration
let this little thing illustrate.